10 Steps to Clean my Charging Port
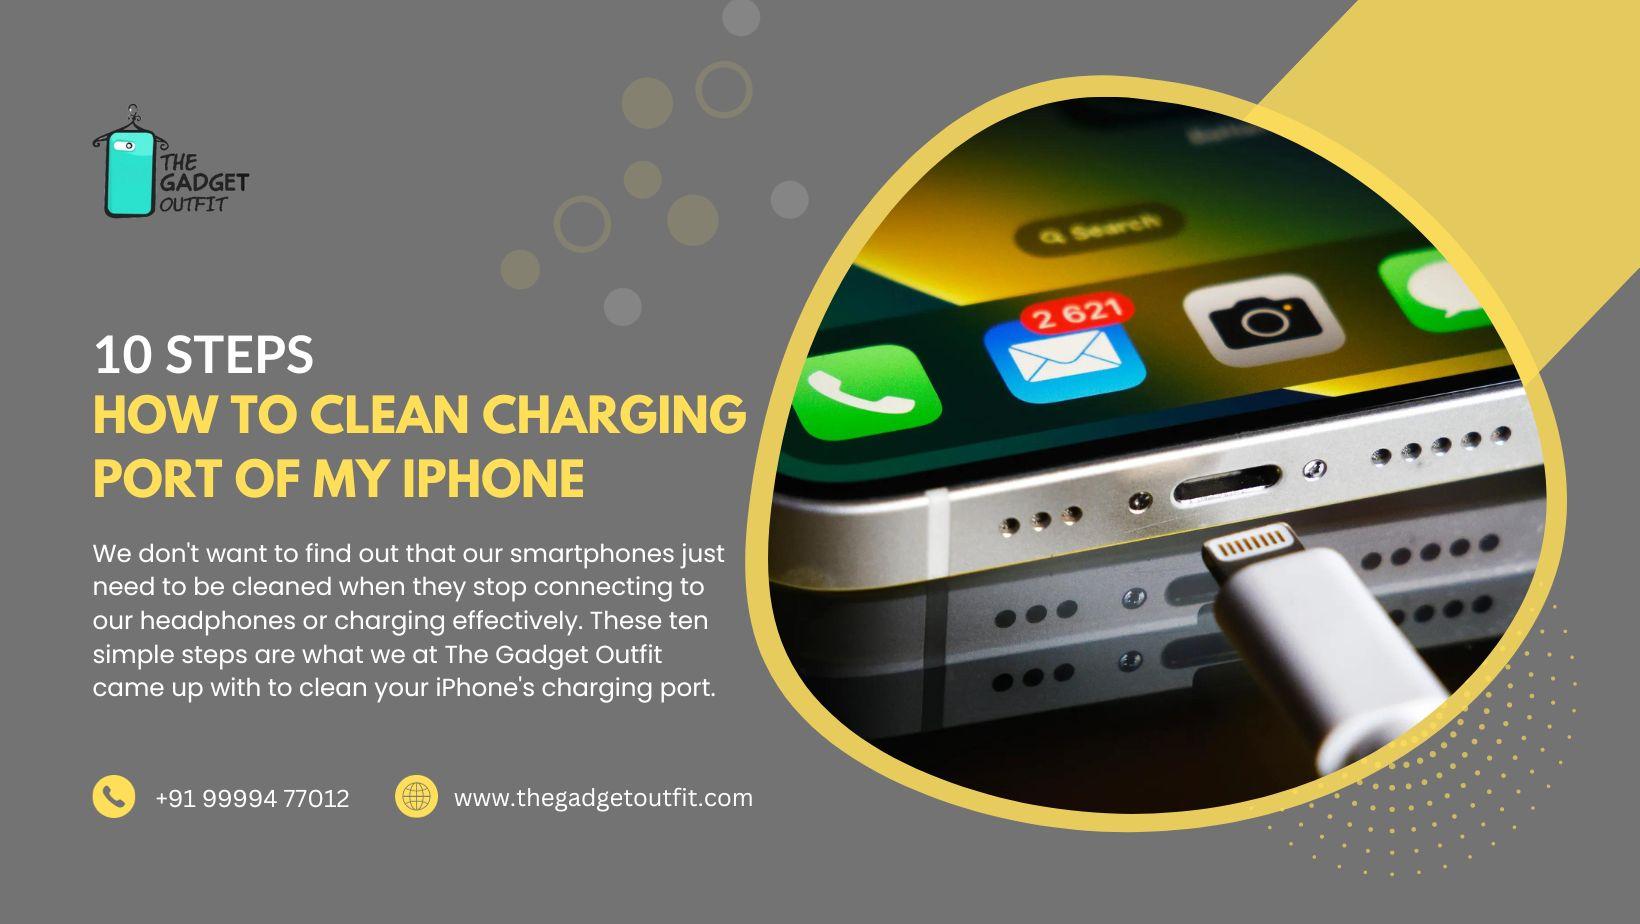
If you use your iPhone frequently, it will eventually need to be cleaned. No matter what, dirt, lint and filth can get into mobile ports. We don’t want to find out that our smartphones just need to be cleaned when they stop connecting to our headphones or charging effectively. These ten simple steps are what we at The Gadget Outfit came up with to clean your iPhone’s charging port.
1. Take Your iPhone out of the charging port
To reach the charging port on the iPhone, take it out of the power bank or charger. To avoid damaging your iPhone’s connector, gently disconnect cellphones from charging connections.
2. Remove The Case From Your iPhone
Take off your iPhone’s cover, be it the iPhone 14 Po Max case or another one. The phone charging port is easily accessible when the phone case is removed. It will provide you with a clear view of what’s inside and make cleaning the port easier. You can check, wipe down and disinfect your phone cases and smartphones.
3. Check the Charging Port on Your iPhone
The charging ports on smartphones are typically exposed, in contrast to phone cases that shield them from dings and scratches. Check the ports on your phone frequently, and clean it thoroughly if you notice any collected dust. Certain manufacturers create rubberized casings with sealing flaps to safeguard ports.
4. Switch off Your iPhone
Turn off your smartphone after checking it and finding lint and dirt on it. iPhones should never be cleaned or sterilized while they are powered on. Turn off your iPhone till you’re done for your own safety.
5. Use Compressed Air for iPhone Cleaning
The safest method for cleaning the port on your iPhone is to use a can of compressed air. Apply a couple quick bursts of air while holding the can upright and keeping it away from the port. Tiny particles ought to start to fall out of the phone’s charging port. If you need to clean your AirPods and AirPods case, this is another alternative.
6. Power Up Your iPhone
Once you have used compressed air, turn on your iPhone. If there’s no electricity, give it some time to charge before turning it on. Return the phone case to your phone if it is charging properly. Proceed with the cleaning procedure once more if the phone isn’t charging. If this doesn’t work or you don’t have a can of compressed air, move on to step seven.
7. Take Care of The Port With Safe Tools
The same way that debris can prevent your phone from charging, moisture and dampness can also do the same. If the phone is wet, disconnect it right away and turn it off. Using cotton balls or clean rags, allow it to absorb water. The phone’s charging port should be pointing down when in this position. Both airflow and water can swiftly drain from the port. For a few of hours, place the iPhone in a dry place.
8. Removing Corrosion From The Charging Port of an iPhone
The charging port on your smartphone may become damaged by corrosion and stop working. Although it frequently occurs with older mobile devices, it can also occur with more recent models. If you use your iPhone while it’s raining, the port walls may corrode. A cotton swab could be able to help you get rid of it. If not, you might have to foot the bill for repairs—Apple iPhone ports go over $100.
9. iPhone and Cases Cleaned
It’s important to remember not to spray liquid cleansers into iPhone cases or directly into the charging connector when cleaning your phone. Wipe the phone’s or case’s exterior with a lint-free cloth soaked in a little amount of water and mild soap. Disinfecting wipes are another option, but you must exercise extreme caution to avoid getting any cleaner near the port.